

10 Creative DIY Brick Fireplace Makeover Ideas That Make a Big Impact
If your brick fireplace feels dated or overwhelms the room, a few targeted updates can transform it into a stylish focal point without a major remodel. This guide walks you through eight practical, budget‑friendly ideas that work for renters and homeowners alike, with clear reasoning, cost‑saving tips, and real‑world notes from my own renovations. By the end you’ll know exactly which approach matches your style, space, and skill level.
Looking for more fireplace inspiration? Check out 10 Stylish Brass Fireplace Makeover Ideas to Give Your Home a Beautiful Update for elegant ways to refresh and modernize a brass fireplace.
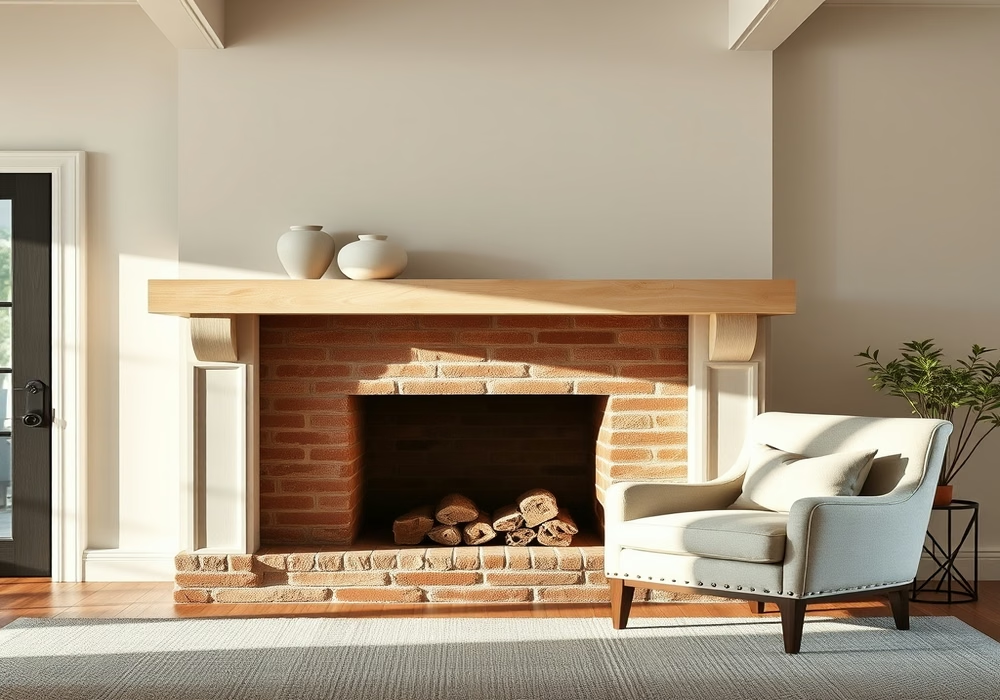
Paint the Brick a Clean White or Off‑White for a Modern Farmhouse Look
Applying a crisp white or warm off‑white paint instantly lightens a heavy brick surface, making the room feel larger and more contemporary. The technique works especially well in spaces with limited natural light because the reflective surface bounces what light there is around the room. I’ve used a semi‑gloss interior latex in “Simply White” on a 1970s brick fireplace in my basement, and the change made the whole area feel like a fresh, airy loft.
Why it works: White creates a neutral backdrop that lets furniture, artwork, or a colorful rug take center stage, following the 60‑30‑10 rule where the fireplace becomes the dominant 60% neutral.
Actionable tip: If you’re renting, choose a removable, water‑based paint labeled “low‑odor” and test a small hidden area first; you can always touch up or repaint when you move out.
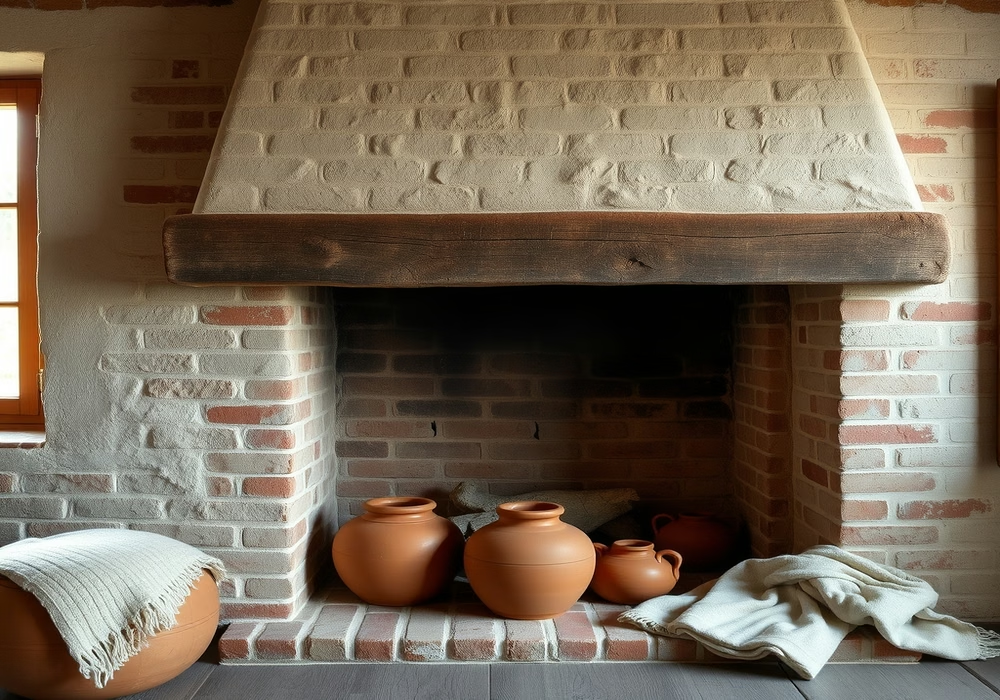
Apply a Limewash or Whitewash for a Textured, Rustic Feel
Limewash (a thin slurry of slaked lime and water) or a diluted whitewash lets the original brick texture show through while muting the red-orange tones. This approach gives a lived‑in, European‑cottage vibe that pairs beautifully with natural wood beams or woven textiles. In my own dining room, I mixed one part lime putty with four parts water and brushed it on with a wide‑sponge roller; the subtle variation in coverage made the fireplace look hand‑crafted rather than uniformly painted.
Why it works: The semi‑transparent finish preserves the brick’s character, adding depth without the starkness of solid paint — ideal for spaces where you want warmth but not a bold color block.
Actionable tip: Work in small sections and keep a damp rag handy to wipe away excess before it dries; this prevents streaks and gives you control over the opacity.
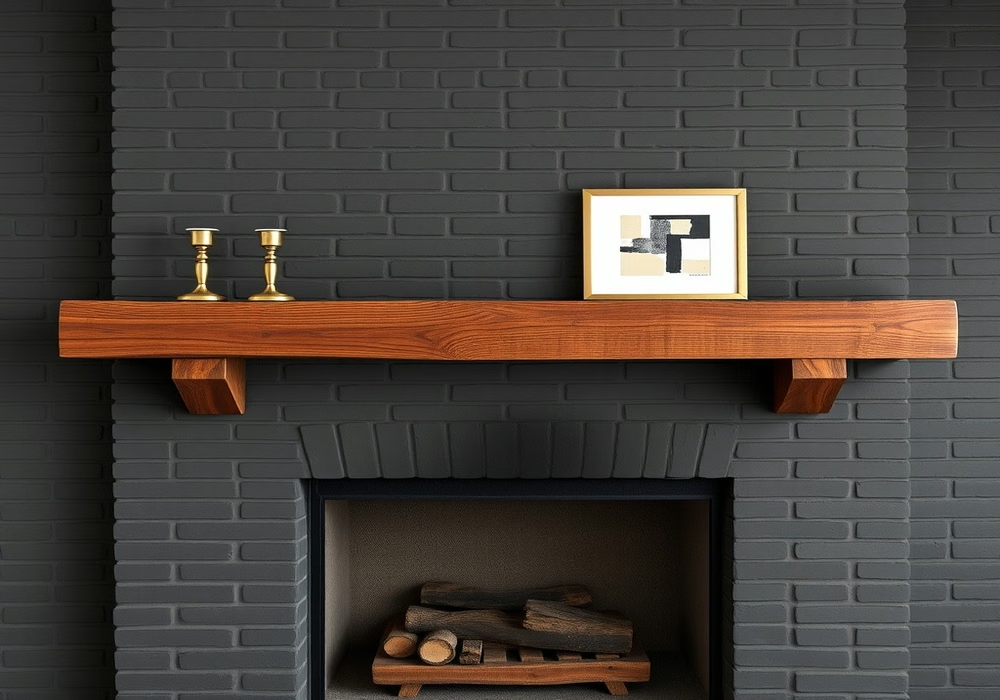
Install a Reclaimed Wood Mantel for Warmth and Contrast
Adding a mantel — especially one made from reclaimed barn wood — introduces a horizontal line that breaks up the vertical mass of brick and provides a shelf for décor. The contrast between the cool brick and warm wood creates visual interest and grounds the fireplace as a room anchor. When I installed a 6‑foot reclaimed pine mantel above my living‑room fireplace, I noticed the space instantly felt more inviting, and it became the natural spot for family photos and seasonal garlands.
Why it works: Wood adds texture and a natural element that softens the hard surfaces of brick, aligning with biophilic design principles that improve wellbeing.
Actionable tip: Look for salvage yards or online marketplaces for reclaimed pieces; sand lightly, apply a clear matte polyurethane, and secure the mantel with heavy‑duty L‑brackets screwed into wall studs for safety.
Tile the Surround with Subway Tiles for a Classic, Easy‑to‑Clean Finish
Covering the brick surround with classic 3×6‑inch subway tiles gives a timeless, clean look that’s especially suited to kitchens, bathrooms, or modern living rooms. The glossy ceramic surface resists soot and is simple to wipe down, making maintenance a breeze. In a recent remodel, I used white glossy subway tiles with a dark gray grout line; the subtle contrast highlighted the tile pattern while keeping the overall feel bright.
Why it works: The rectangular tiles create a orderly grid that balances the irregularity of brick, and the grout lines add a subtle visual texture without overwhelming the space.
Actionable tip: If you’re working over uneven brick, first attach a cement backer board with thin‑set mortar to create a flat surface; this prevents tile cracking and ensures a level finish.

Add a Floating Shelf Above the Fireplace for Display and Functionality
A narrow floating shelf installed just above the mantel (or directly on the brick if there’s no mantel) provides extra surface area for books, plants, or art without the bulk of a traditional shelf. This solution works well in small rooms where floor space is at a premium. I added a 2‑foot floating walnut shelf in my studio apartment; it holds a few ceramics and a small LED lamp, turning the fireplace wall into a mini‑gallery.
Why it works: The shelf draws the eye upward, emphasizing vertical space and making the ceiling feel higher, a trick often used in Scandinavian design.
Actionable tip: Use a stud finder to locate wall anchors; if studs aren’t aligned with your desired placement, install heavy‑duty toggle bolts rated for at least 50 lbs to support the shelf safely.
Use Peel‑and‑Stick Stone Veneer for a Faux Stone Look Without Mortar
Peel‑and‑stick stone veneer panels mimic the look of stacked stone or fieldstone but come with an adhesive backing, eliminating the need for mortar, grout, or specialized tools. This option is ideal for renters or anyone wanting a quick weekend upgrade. I applied a stacked‑stone veneer in a medium taupe shade to my fireplace last fall; the panels adhered smoothly to the cleaned brick, and after a week the edges had sealed tightly, giving a convincing stone façade.
Why it works: The lightweight panels add texture and depth while reducing visual weight compared to full‑thickness stone, making the fireplace feel substantial yet not overpowering.
Actionable tip: Clean the brick surface with a trisodium phosphate (TSP) solution and let it dry completely before applying; any dust or grease will weaken the bond and cause peeling over time.
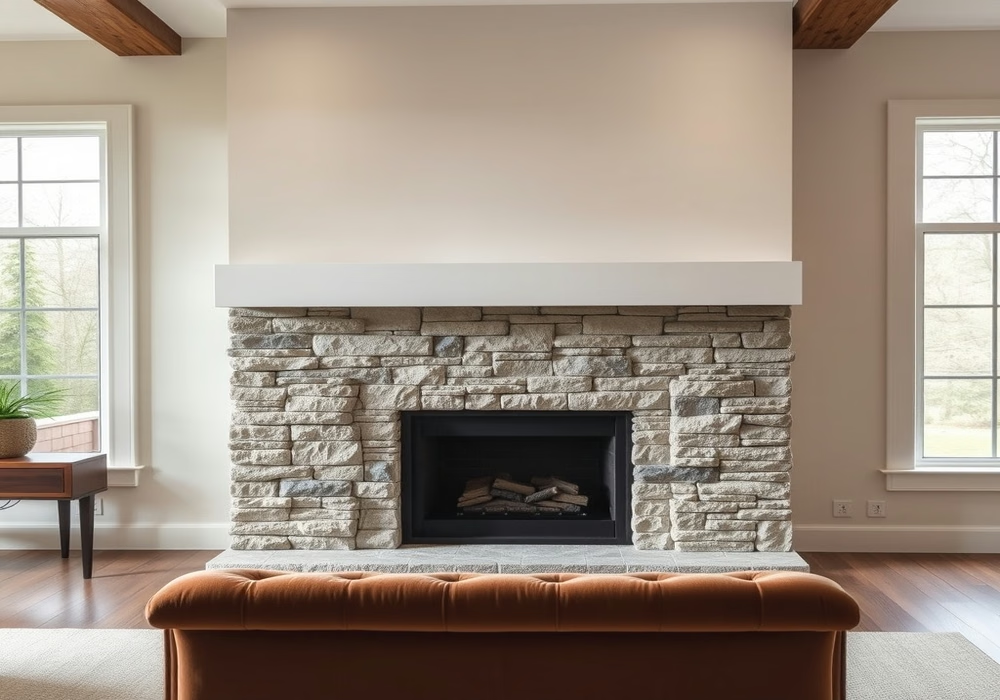
Paint the Interior Firebox Black to Make Flames Pop and Hide Soot
Painting the inside of the firebox with high‑temperature black stove paint creates a dramatic backdrop that makes orange and yellow flames appear more vivid, while also concealing soot buildup between cleanings. This trick is especially effective in rooms where the fireplace is used frequently. After I painted my firebox with a matte black rated for 1200 °F, the flames looked richer, and the black surface showed far less staining than the original brick.
Why it works: A dark interior absorbs light, reducing glare and enhancing the contrast of the fire, which draws attention to the flames rather than the surrounding masonry.
Actionable tip: Use a painter’s tape to protect the brick opening and surrounding trim, and apply two thin coats of stove‑paint, allowing the recommended cure time (usually 24 hours) before lighting a fire.

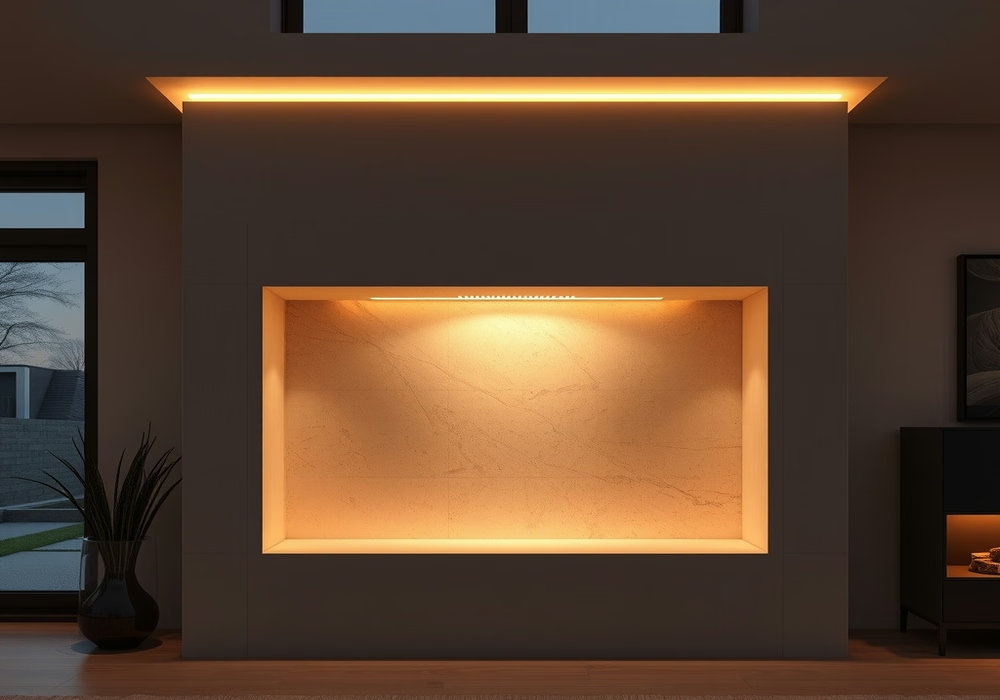
Incorporate LED Strip Lighting Inside the Niche for Ambient Glow
Adding a flexible LED strip along the top inner edge of the fireplace niche creates a soft, indirect light that highlights the surround and adds a cozy ambiance after dark. Choose a warm‑white (2700‑3000 K) strip with a dimmable driver for versatility. In my own home, I installed a 16‑foot warm‑white LED strip behind the mantel lip; the gentle glow makes the fireplace a night‑time focal point without overwhelming the room’s main lighting.
Why it works: Indirect lighting reduces harsh shadows and adds a layer of illumination that can be adjusted for mood, a principle used in hospitality design to create welcoming environments.
Actionable tip: Measure the interior length carefully, purchase a strip with adhesive backing, and connect it to a plug‑in dimmer switch so you can turn it on/off without rewiring.
Frequently Asked Questions
Q: Will painting brick affect the resale value of my home?
A: Painted brick can be a plus or minus depending on buyer taste; neutral colors like white or gray tend to appeal broadly, while bold hues may limit appeal. If you’re concerned, choose a removable paint or a technique like limewash that can be reversed more easily.
Q: How do I prepare a brick surface before applying paint or veneer?
A: Start by scrubbing the brick with a stiff brush and a solution of water and trisodium phosphate (TSP) to remove dirt, grease, and loose mortar. Rinse thoroughly and let the surface dry completely — usually 24 hours — before priming or applying adhesive products.
Q: Can I use these ideas if I have a gas fireplace instead of wood‑burning?
A: Yes. Most surface treatments (paint, limewash, tile, veneer, shelving) work fine with gas units as long as you follow the manufacturer’s clearance requirements. Avoid placing flammable décor too close to the vent or heat outlet.
Q: What’s the most cost‑effective makeover under $50?
A: Painting the brick interior black with high‑temperature stove paint and adding a peel‑and‑stick stone veneer strip to the outer edge can be done for under $50 if you already have basic supplies like brushes, painter’s tape, and a cleaning solution.
Conclusion
Refreshing a brick fireplace doesn’t require a full remodel; targeted changes like paint, wood accents, tile, or lighting can deliver a big visual impact for modest effort and cost. Pick the idea that matches your style, try it out this weekend, and enjoy a fireplace that feels like a true centerpiece of your room.
Leave a Reply